How to install Wamp on windows server
Download the latest version of WAMP from http://www.wamp.org.
WAMP installation guide
1. Double click on the wamp installation executable (we have used WampServer2.0i.exe ) to start the installation.
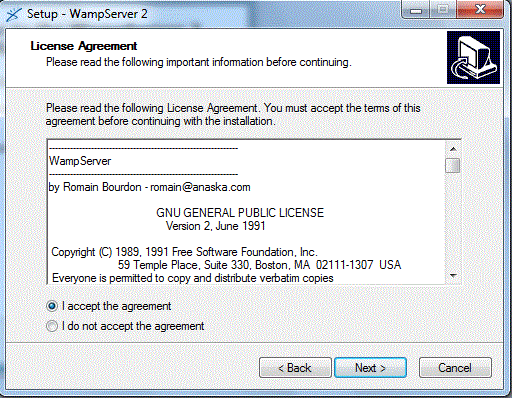
2. Select I accept the agreement.
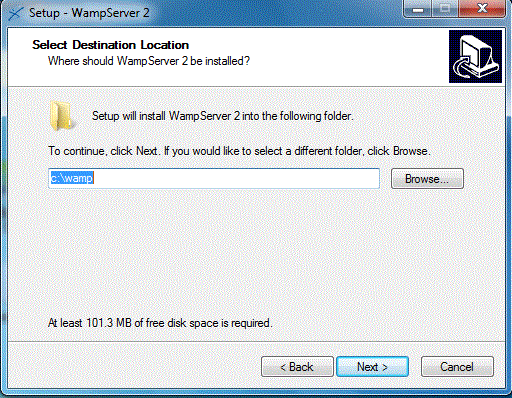
3. Select destination folder.
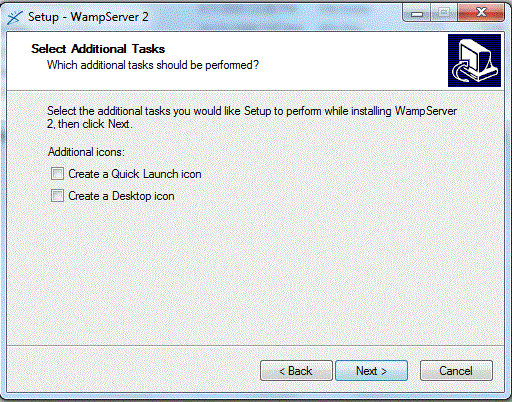
4. Select whether you want a Quick launch icon and desktop icon.
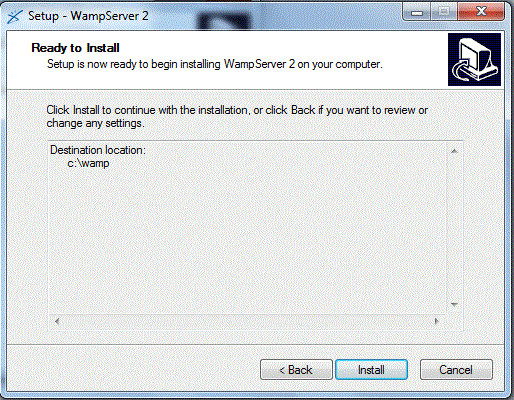
5. Click Install to beginning the installation.
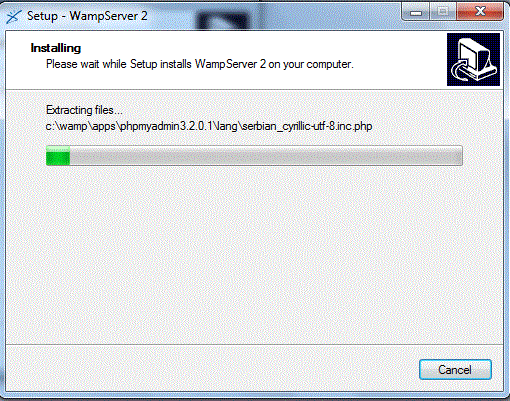
6. Installation progresses.
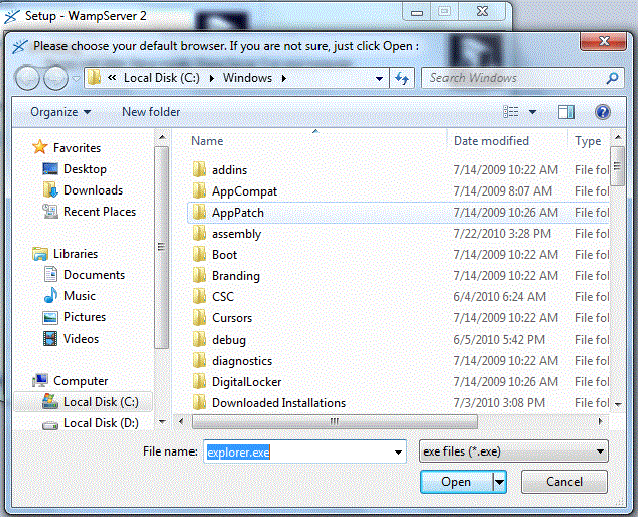
7. Select the default browser WAMP server going to use.
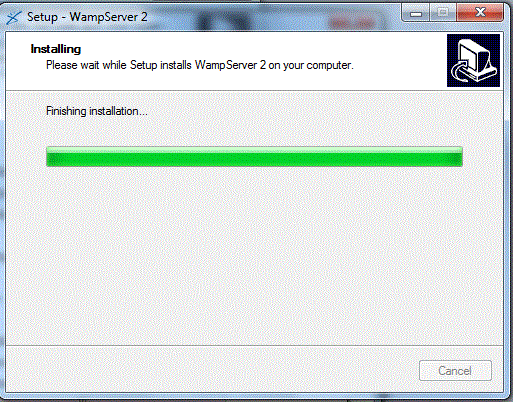
8. Installation is being finished.
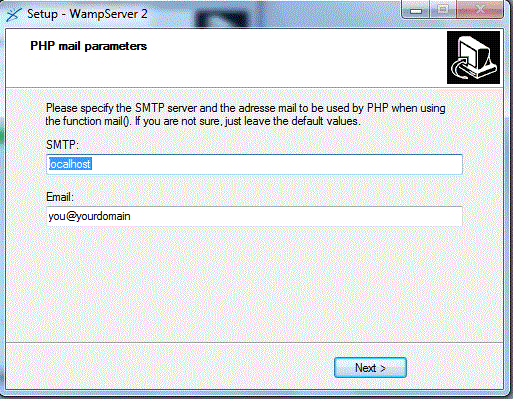
9. Supply PHP mail parameters and click next. This finishes the installation.
10. Testing if PHP is installed properly.
Create a php file containing code <?php echo phpinfo(); ?> and save it as test.php.
Run this file on your web server and if you get an output like this :
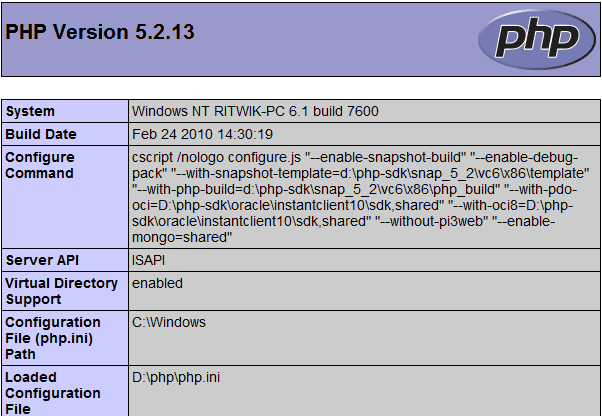
then your WAMP installation is working properly.
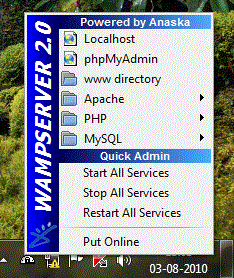
After you have successfully installed WAMP, an icon comes in the right-hand corner of the Taskbar. Click on that icon and from here you start / restart /close Apache, PHP, and MySQL. You can also change settings of Apache,PHP, and MySQL.